
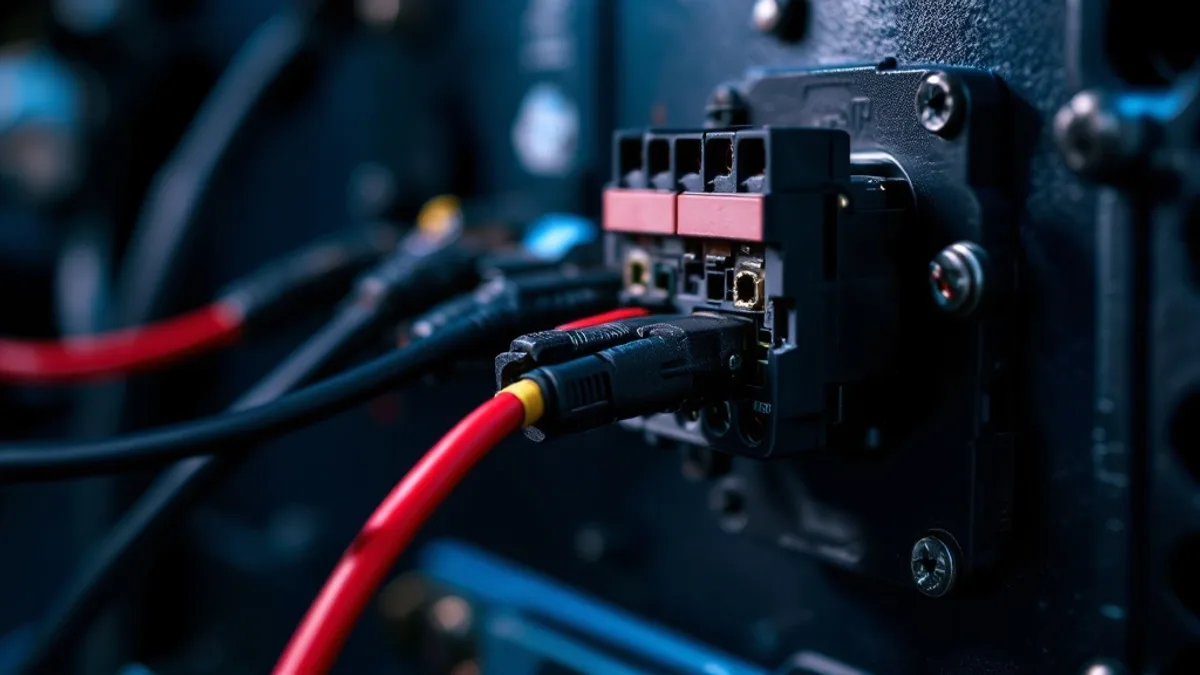
Disconnect the battery before working on the electrical system. Wiring must be done by qualified personnel, following the diagram supplied with the unit: the power branch carries tens of amps and a short circuit can cause a fire. Fit the fuse close to the battery, before any other connection.
The basic diagram, branch by branch
Power: the motor draws tens of amps, which must flow only through the contactor, never through the pushbutton. Control: the button carries a few amps to the contactor coil; this is the branch you can extend (pendant, radio remote) without penalty. Solenoid valves: each coil has its own command, with protection diodes where the control is electronic. The specific diagram for your unit ships with every Gazzera power pack.
| Branch | What it carries | Practical rule |
|---|---|---|
| Power | tens of amps: battery, contactor, motor | short, generous cables, fuse near the battery, never the pushbutton on this branch |
| Control | a few amps to the contactor coil | can be extended: pendant or radio remote |
| Solenoid valves | one command per coil | protection diodes with electronic control |
How do you size cables at 12V?
At 12V a single volt dropped along the cable is nearly 10% of the supply: the motor pays in torque, extra current and heat. The rules: power cable as short as possible, cross-section generously sized for the rated current (when in doubt, the next size up), properly crimped lugs, ground straight to the chassis with the same cross-section as the positive. The recommended size/length table ships with the unit.
The mistakes we see most often
Ground taken on painted sheet metal (a contact that degrades over time); fuse missing or placed far from the battery (leaving the cable run before the fuse unprotected); pushbutton wired into the power branch (contacts burned within weeks); battery cable extended with lighting-grade wire. Each of these takes minutes to diagnose and next to nothing to prevent at installation time.
Wiring the solenoid valves
When the circuit has solenoid valves, the motor typically drives the lifting stroke while lowering (or a second movement) is commanded by a solenoid valve. In double-acting circuits, instead, a 4/3 or 4/2 solenoid valve directs the motor’s flow to one cylinder chamber or the other and selects the direction of travel. Either way, the control must ensure the coils and the motor never receive conflicting commands. On Gazzera pendants the logic comes pre-wired; if you build your own control, ask us for your configuration’s diagram before connecting.